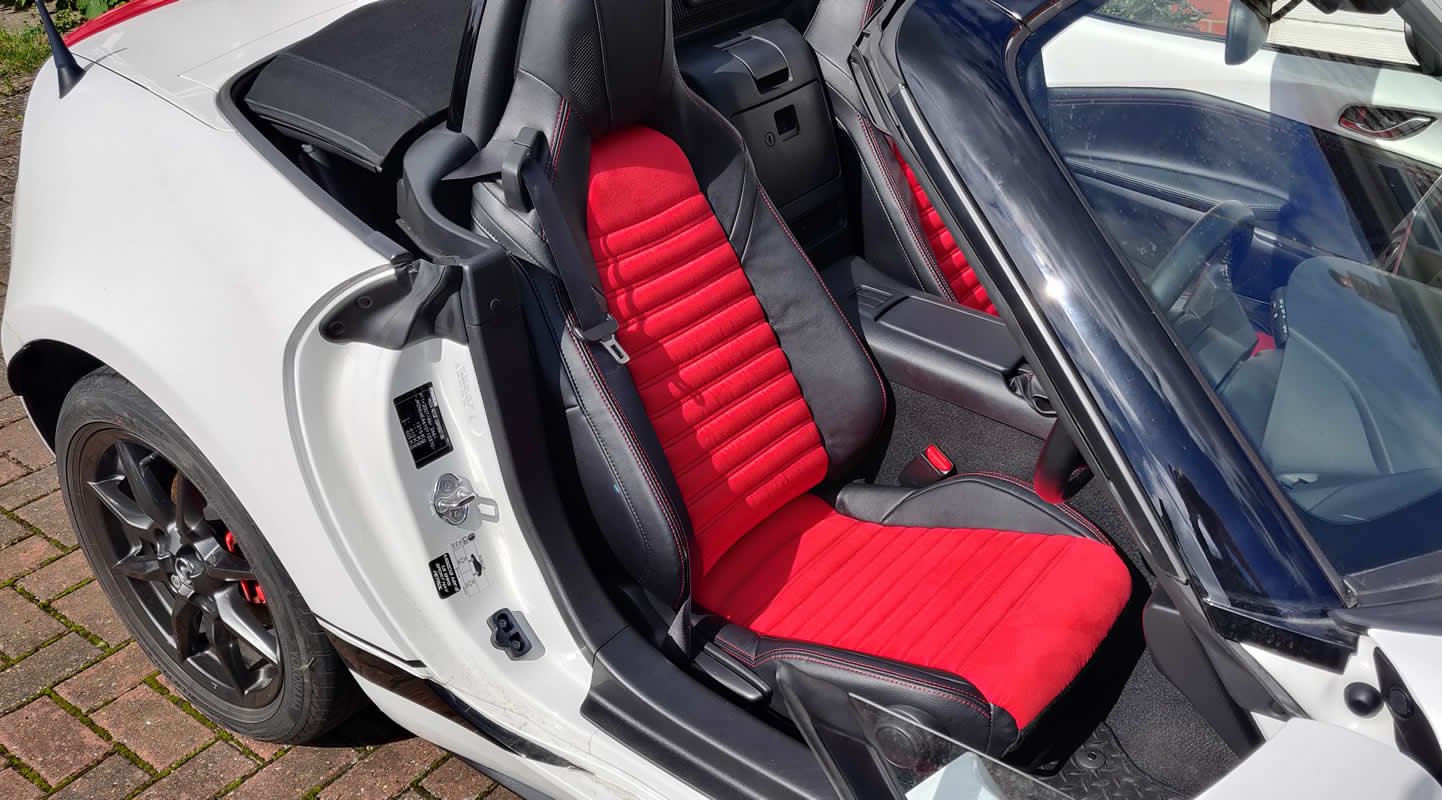
I guess I'm one of the tallest owners of a Mk4 MX-5 as I'm over 6 foot 5 and find the lumbar support extremely underwhelming. When I bought my MX-5 the only alternative to the standard seats (with either leather or cloth covering) was the Sport Recaro special edition. Not being a fan of Ceramic White, colour being a deeply personal preference I opted to choose a paint colour I loved and make alterations to the seats. In the back of my mind, I planned to look for an aftermarket Recaro seat I could retrofit to my MX-5. But after hours of searching, reading blog posts and sport seat product specifications I discovered without removing the interior panels of my Mk4 MX-5 like many of the track cars have done, the interior is too narrow for any of these seats.
The final option I was left with was to alter the existing seats, which was the route I decided to take. After careful thought, I split the job of enhancing the seats into two specific tasks; discover how to best enhance the seat support and choose a fabric for the new covers. If you’re curious to see how the Mk4 MX-5 seat is constructed, you might like to watch the video I created showing me stripping down a seat and exposing the seat frame.

Having sat in many different car seats over the years, particularly while I worked for a B2B car leasing company, I know the construction of each car seat varies enormously from manufacturer to manufacturer. Since you can't tamper with the seats significantly in a second-hand dealer's car lot I began to look online at seat frames being sold by car-breakers. YouTube also has a number of interesting videos showing people stripping down and re-covering car seats, where you can catch glimpses at the seat frames. It was a slow process but I eventually worked out a list of parts needed and managed to purchase the spring frames and z-springs required to complete the job. The actual process of enhancing the seats is a little complicated to describe here, so I created another video which gives an overview of what I did. In brief, I've enhanced the seatback, added more lumbar support and firmed up the seat bottom a little, so it better spreads your weight rather than dishing you into the middle which (in my opinion) is a crude way to make a bucket-style seat.
The second task was choosing a fabric to re-cover the seats with. I wanted an Alcantara style fabric and not something too solid that would quickly result in a sticky-back as none of us like arriving at our destination with a sweaty back. The vast choice of fabric is mind-boggling, but I quickly discovered there's a massive difference between the thickness, quality and fire-retardant properties of different fabrics. Some of the ones sold on auction sites are very cost-effective but aren’t much thicker than a sheet of heavy-weight A4 paper. Others are really stretchy and would probably have been a nightmare to upholster onto the seats. My search was made easier by narrowing it to red (to match my wing mirrors), grey or black which would tone with the other elements on the car as I didn't want to introduce a new colour. Finding bright red fabric which is similar to Alcantara, is fire-retardant and of a suitable thickness to reduce the chances of accidental damage was difficult. Fortunately, my local car upholsterer had some good contacts and I was able to track down something suitable. I was impressed by his manner and approach to the job, I decided to engage his services. This was a smart move.
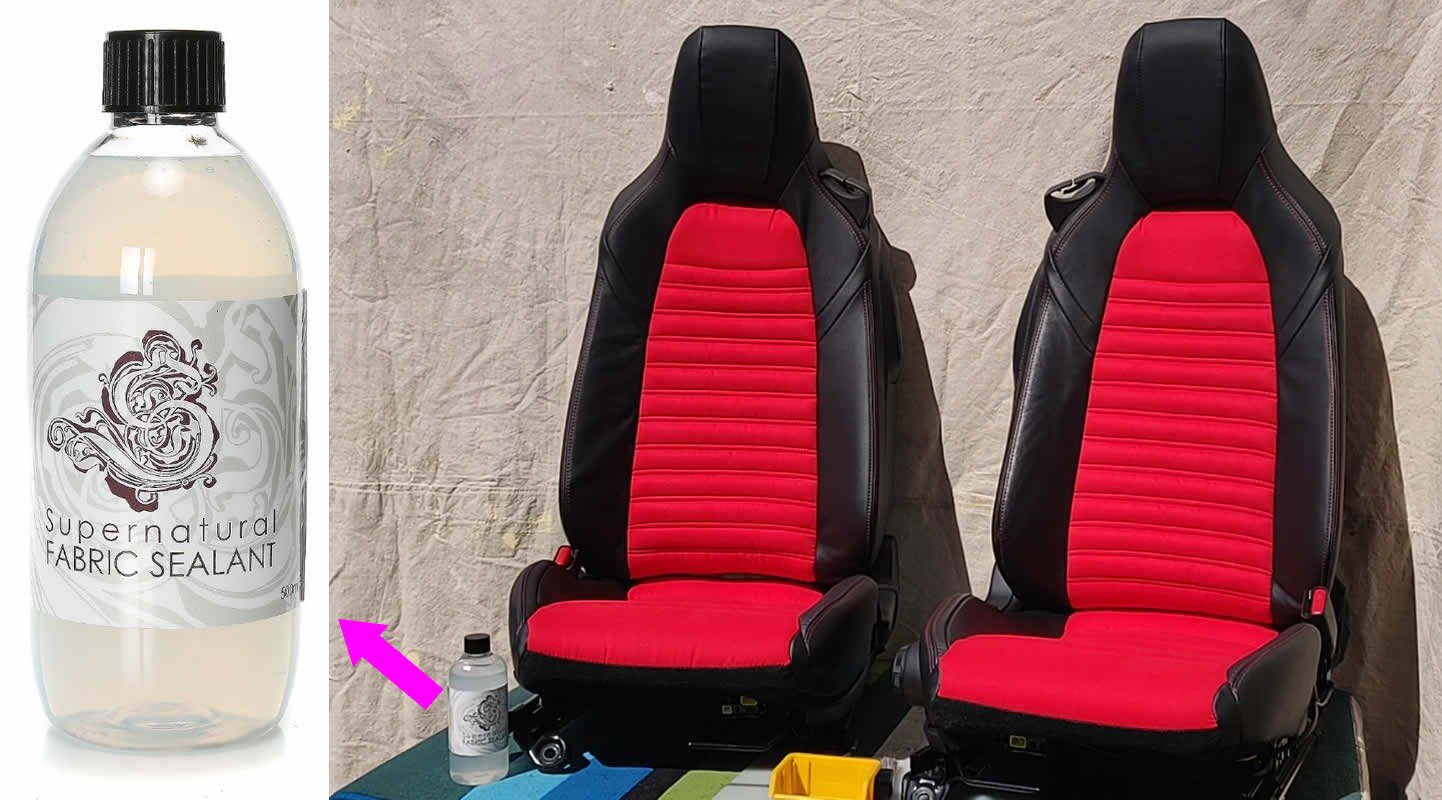
In February 2020, I removed the covers and delivered them to him. Despite not being able to collect the finished seats until July 2020 because he was out of action / closed, as much of the UK has been during 2020 the results were worth waiting for and I’m very pleased with the outcome. Before I put the seats in the car, I decided to add an additional layer of protection and coat them with a hydrophobic fabric sealant. This was a slow process but one I felt was worth doing and the kind of thing you might regret skipping after the seats had been stained or soiled with coffee or chocolate. I chose to use DoDo Juice's Supernatural Fabric Sealant
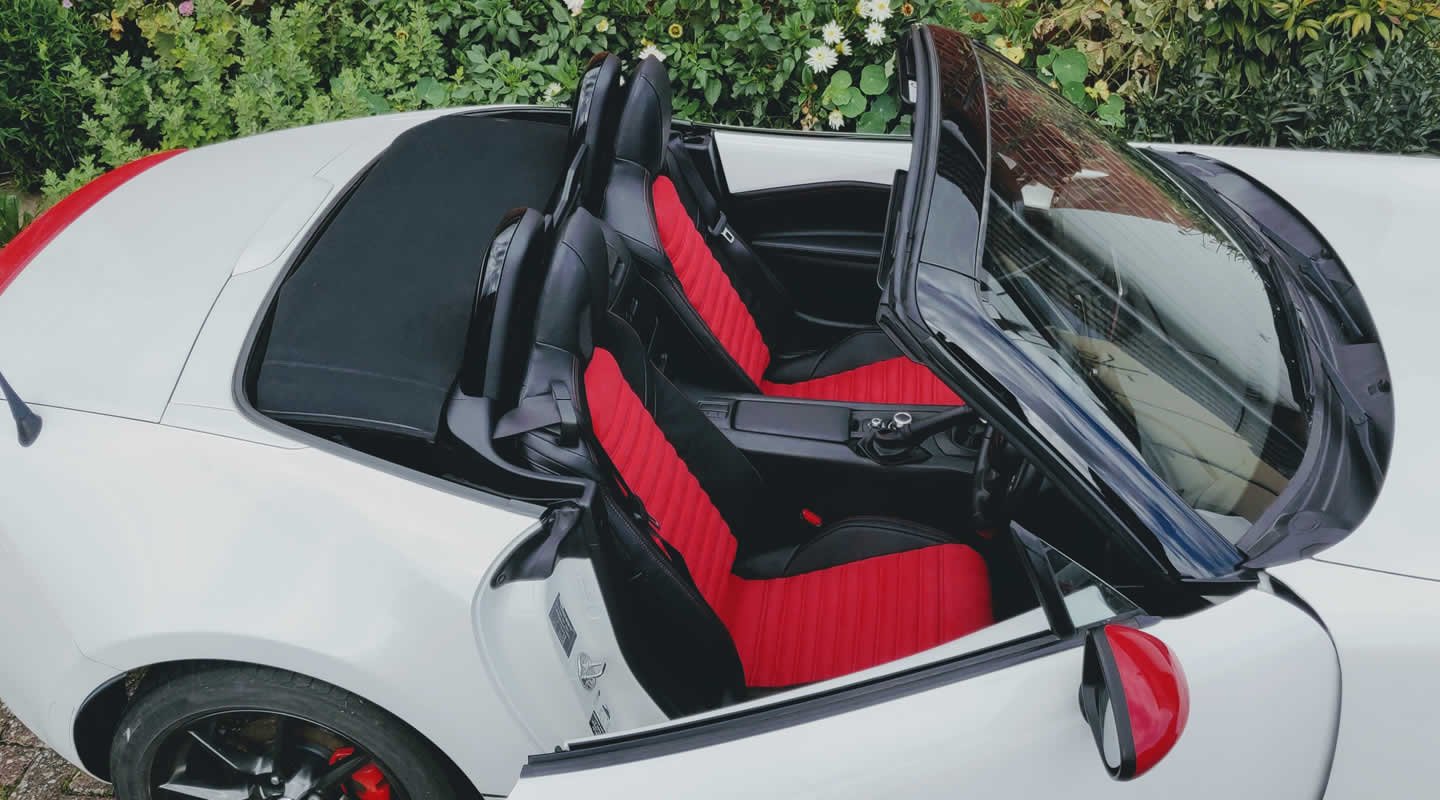
The final task involved bolting the seats into my MX-5, for which a cordless impact wrench makes the job light work.
Once the seats had been replaced, the only thing remaining was a test drive (or three). Unfortunately, 2020 hasn't been a good year for days out in general but I'm confident I'll be enjoying plenty more in future years.