Purchasing a decal for the side of the car seemed at first thought to be an easy task, but after many hours considering various designs I was no further forward. I quite liked a design I'd found on a Japanese website but the air-fare made it quite expensive compared to other options.
Something about each of the design I'd short-listed didn't sit quite right with the rest of the car, so I began to consider making my own. Using a roll of wide insulating tape I created a 20cm strip of material I could use to prototype different designs.
My original short-list had been whittled down to a choice of two different designs after a bonnet stripe I liked was ruled out by family members who argued it wouldn't suit an MX-5 and was better suited to American muscle cars.
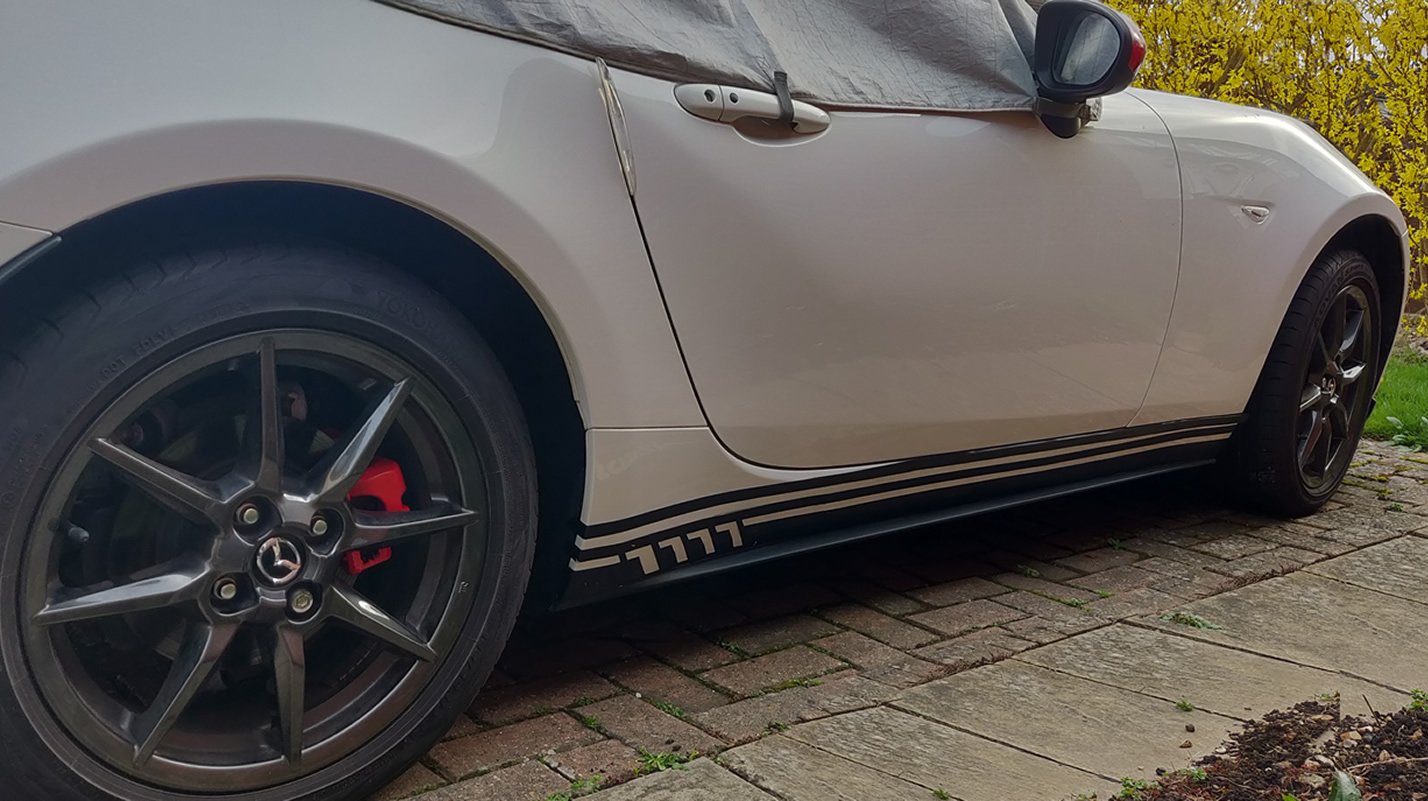
The above photo shows one of the prototypes I created over the space of several weeks. Once I was happy with the design I cut it out of black vinyl using an extremely sharp craft knife an A1 size cutting mat. After removing the unwanted sections it's necessary to add some masking tape to the top of the vinyl before peeling the bottom waxed paper.
After a thorough clean and check over the area with some T-Cut to remove any unwanted tar spots or residue on the paintwork, followed by another spot wash to remove the T-Cut, I cleaned the area with my Isopropyl alcohol spray.
Before going any further I applied a guideline to the bodywork using some thin blue masking tape. Although this sounds simple it took a couple a attempts to get it level and for both sides to be the same; due to the line at the bottom of the doors not being totally horizontal.
A great method for applying the vinyl is to wet the area thoroughly with a water mister spray bottle with lukewarm water and a couple of drops of washing up liquid. Applying the vinyl to a wet surface sounds counter-intuitive but it allows you to position it and adjust it without damaging or stretching the vinyl.
