Updating the Infotainment Software v74

It's been a while since I last updated the Mazda Infotainment System. Last time it went very smoothly without issue, so I was keen to rinse and repeat the process as my local Mazda dealers don't seem that keen. The task itself is surprisingly simple, but it needs babysitting and if you're a bit of a luddite it might seem a bit daunting. Don't worry, it really is plug-n-play. And if you follow the supplied instructions carefully you won't have any issues.


Starting infotainment version number 70.00.367 EU N


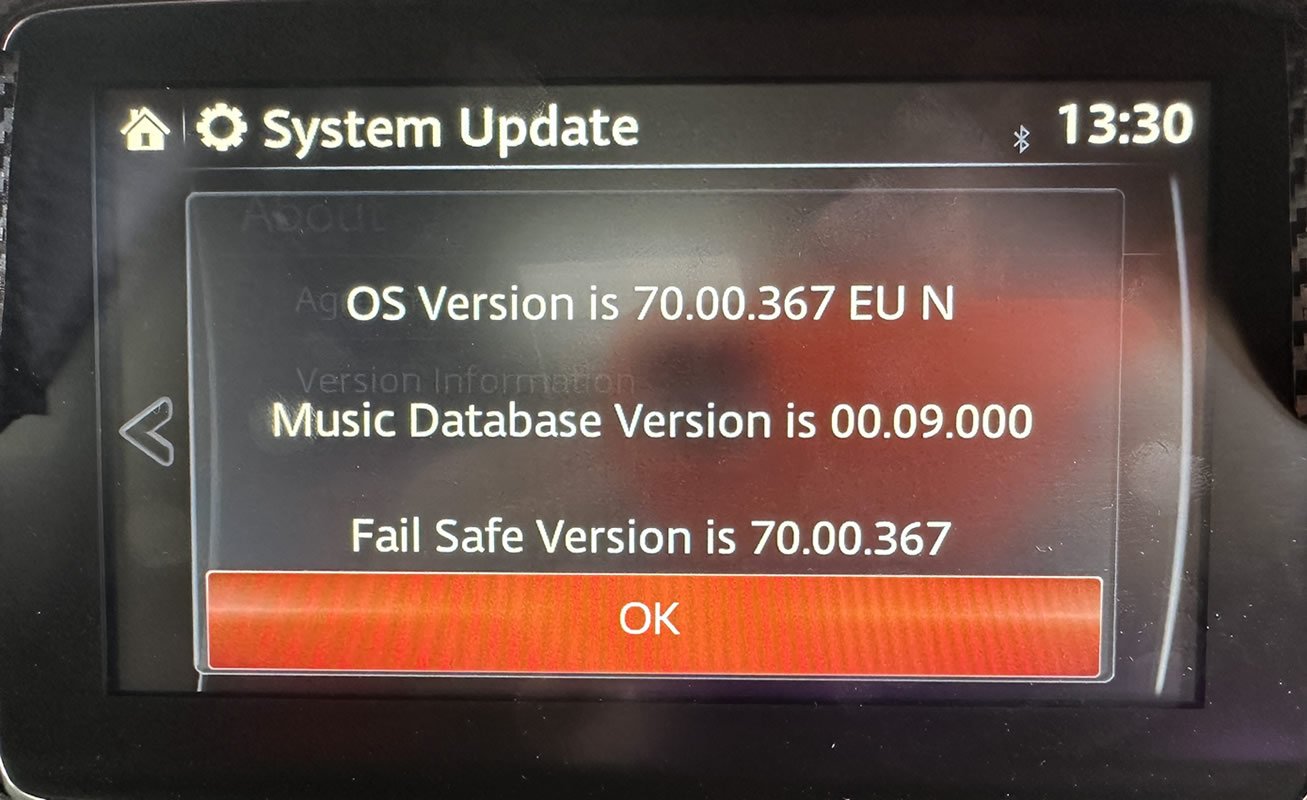
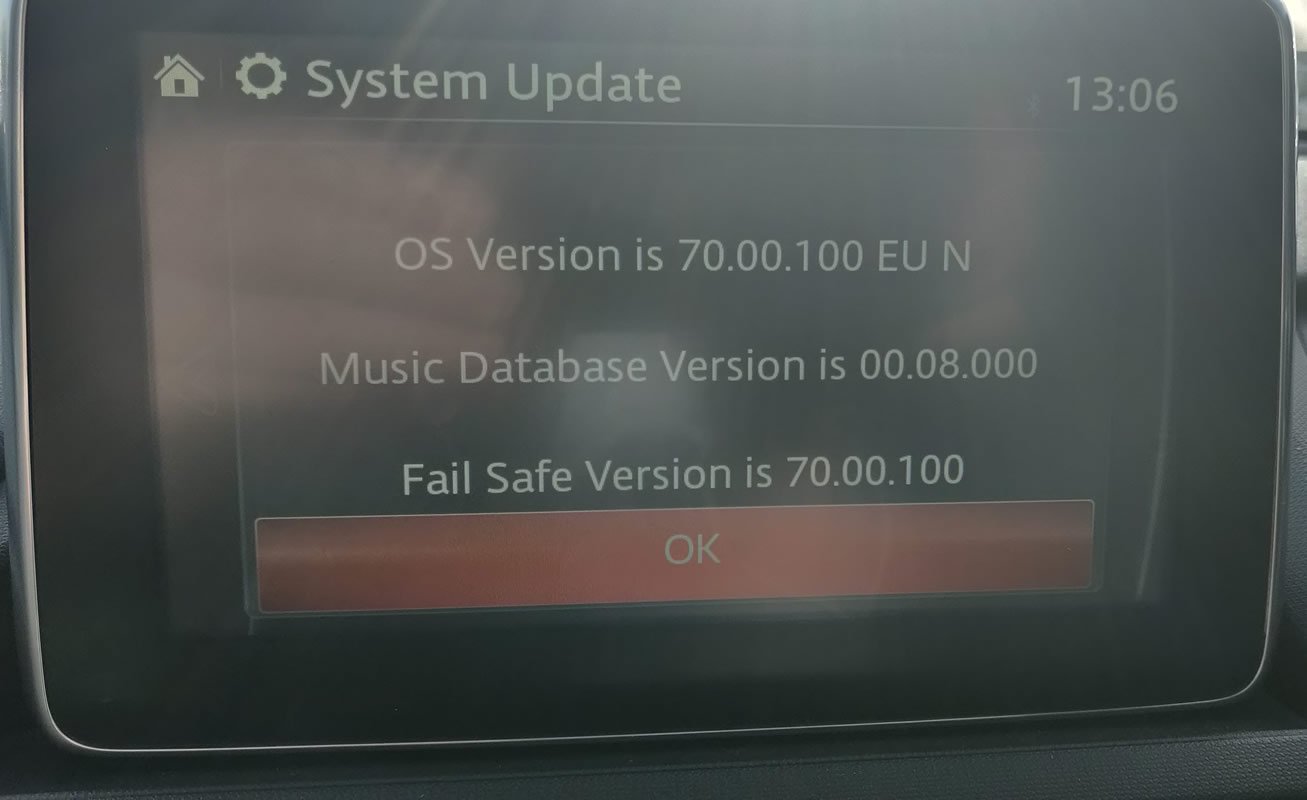
My Mx-5 had been upgraded with the required hardware needed for Android Auto / Apple Carplay hardware back in 2019, and I'd subsequently upgraded the firmware back in 2021 (see older post). Once again this upgrade was purely software-related. Before I began my software version was 70.00.367 EU N and the version I was about to install is 74.00.324 EU N - and as before I could upgrade to this version in a single step.

(If your MX-5 isn't on version 70, please make sure you read my previous post as you will not be able to perform the update I'm describing here until you've met initial requirements.)

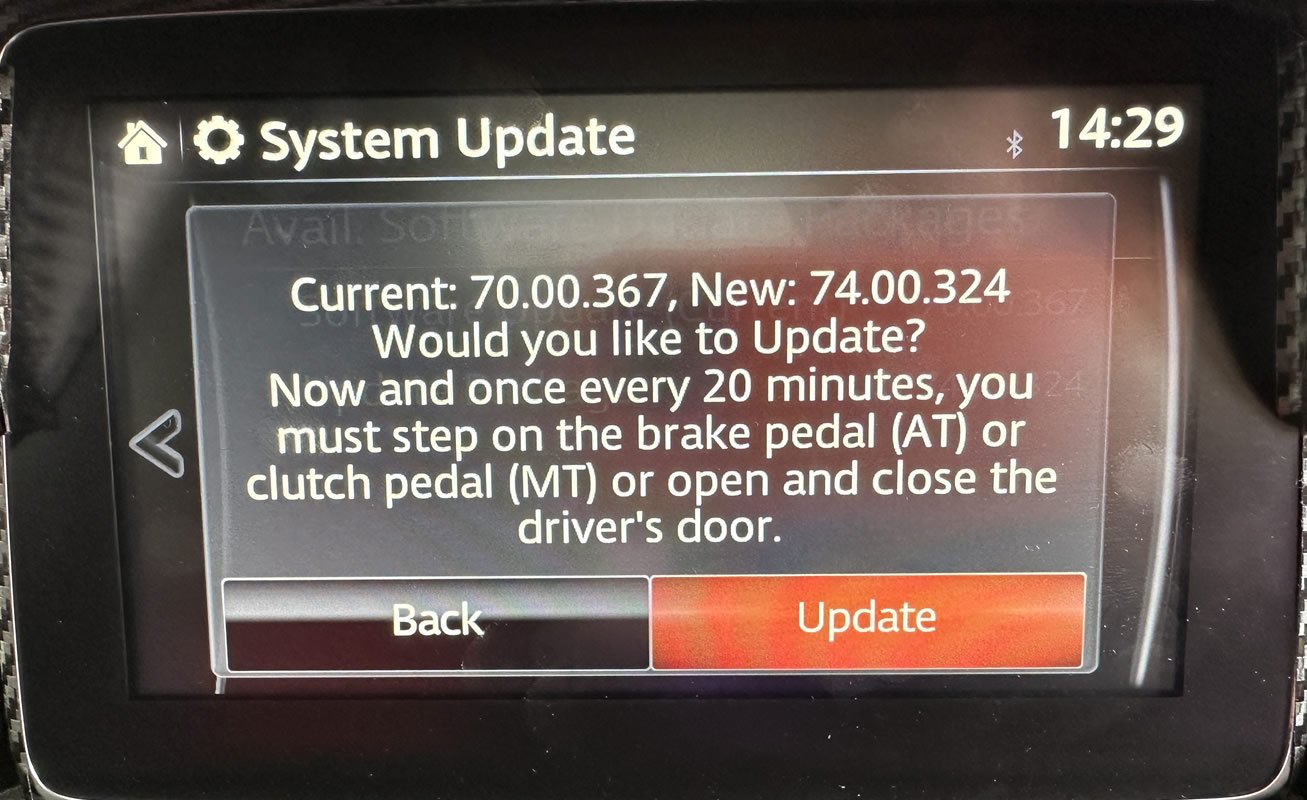
I remembered needing to depress the clutch pedal once the update is in progress, to prevent the idle time from wrecking the upgrade. After you've installed the memory stick with the upgrade and started the process you'll see a message showing your options.

Choosing the version to install

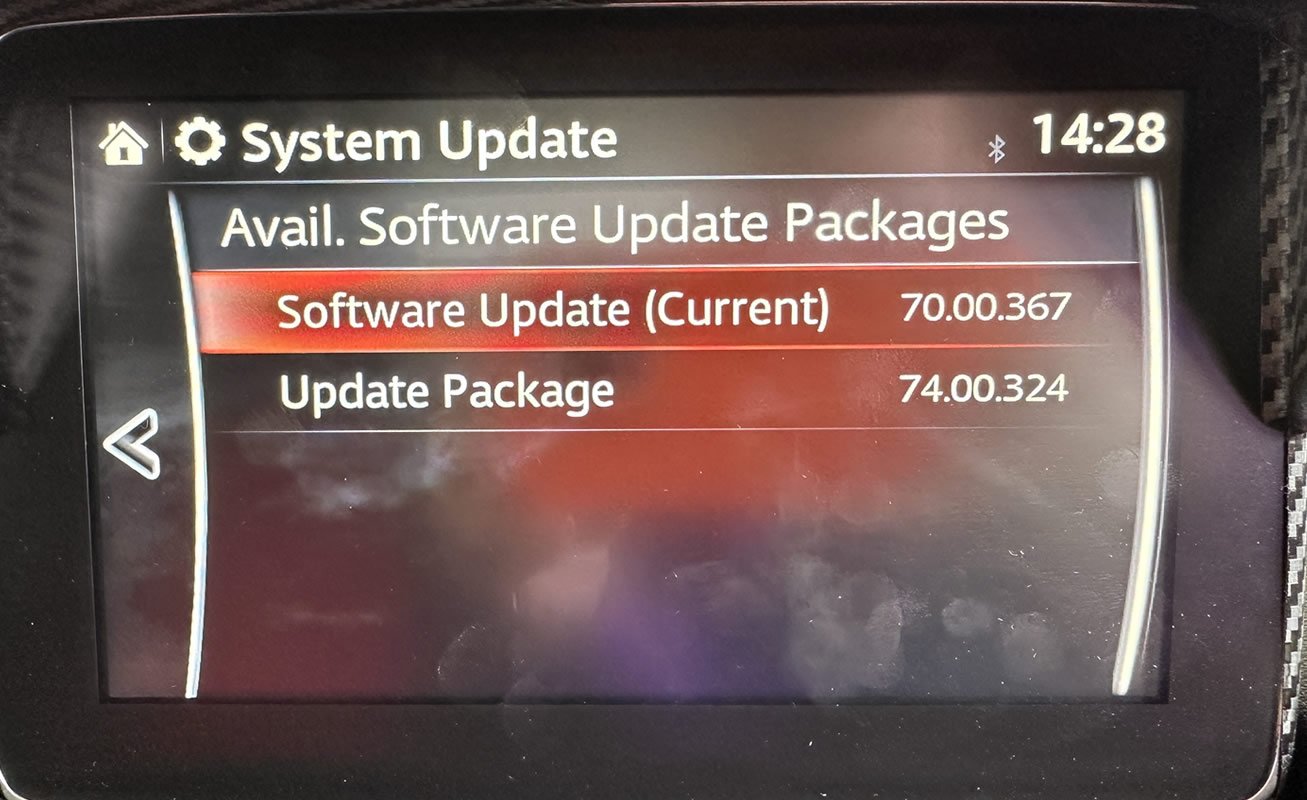
Select the update package and press down to confirm your selection. You'll then need to confirm the selection. I always appreciate these fail-safe procedures, as they can prevent nasty surprises if you've clicked something by accident. As this is intended, I selected update and pressed to confirm.
It's worth noting that this is the last opportunity you have to safely exit the process.

Confirm you wish to update infotainment system

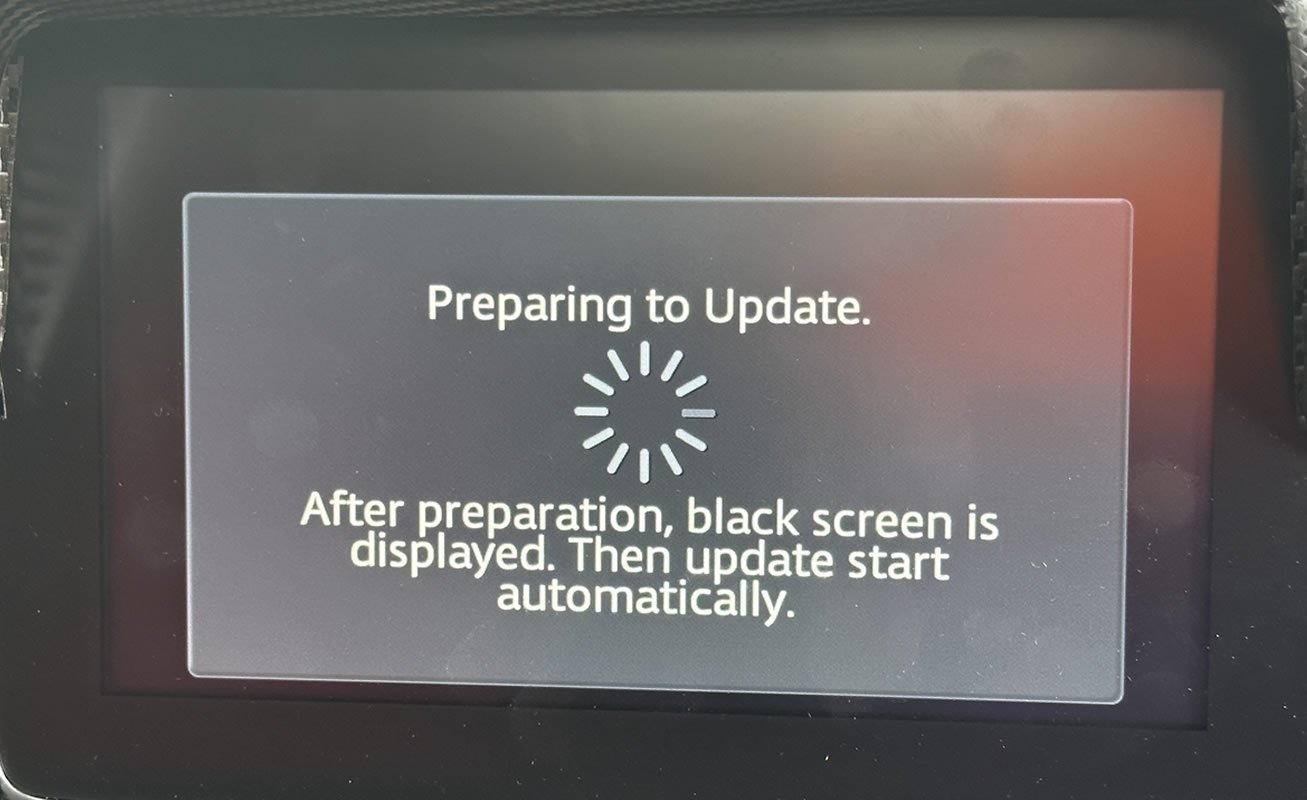
After this you'll see a loading screen. I'm mentioning this specifically because this is the one time you've got to belt yourself in and keep your hands off. It's going to take a while to cook and you mustn't give up, nor start catastrophising that it's been 'loading' for ages and therefore has to have borked the whole thing. Hang in there. It'll be fine, provided the update file was copied diligently to the USB. For those that need to know all the details, my educated guess as a software developer guy is it's copying the files off the USB. And this defo isn't a USB 3 setup, so it'll chug along like a tortoise and not race away like a hare.

loading the firmware files

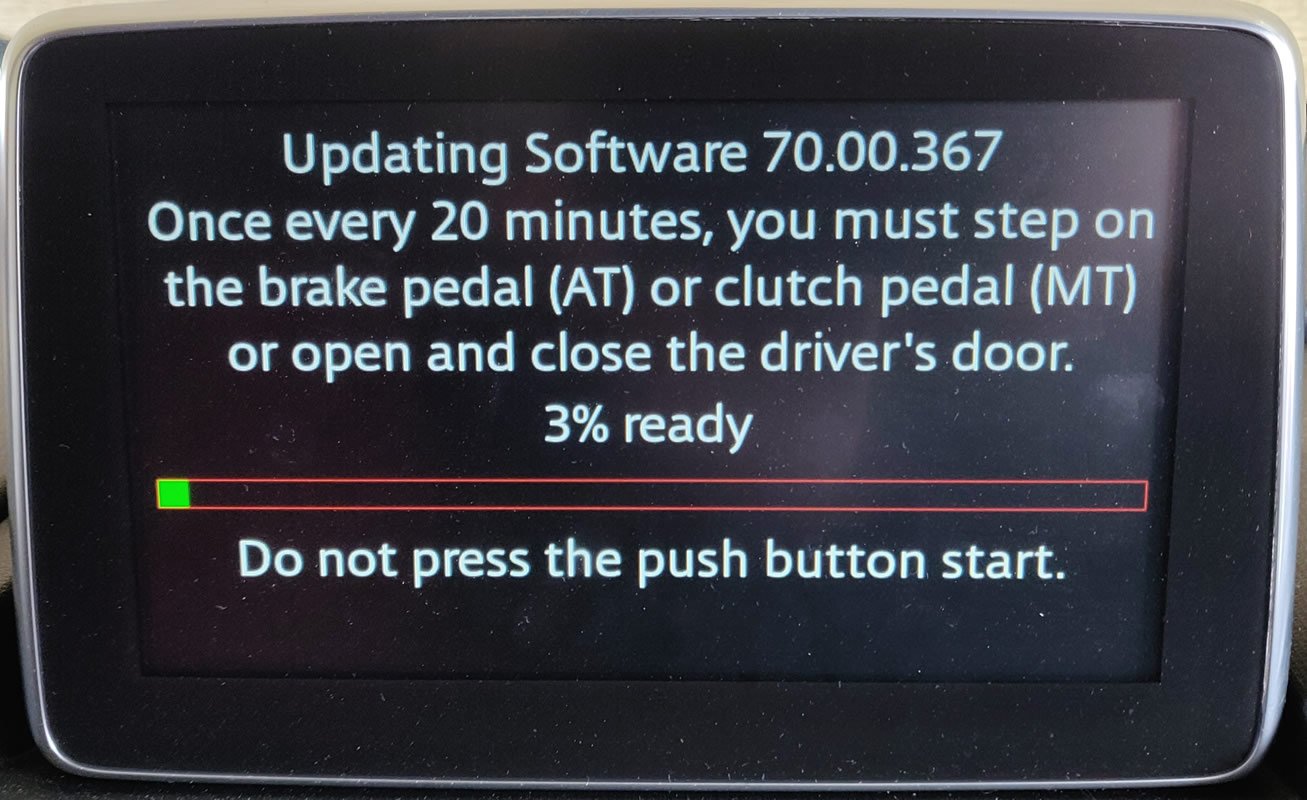
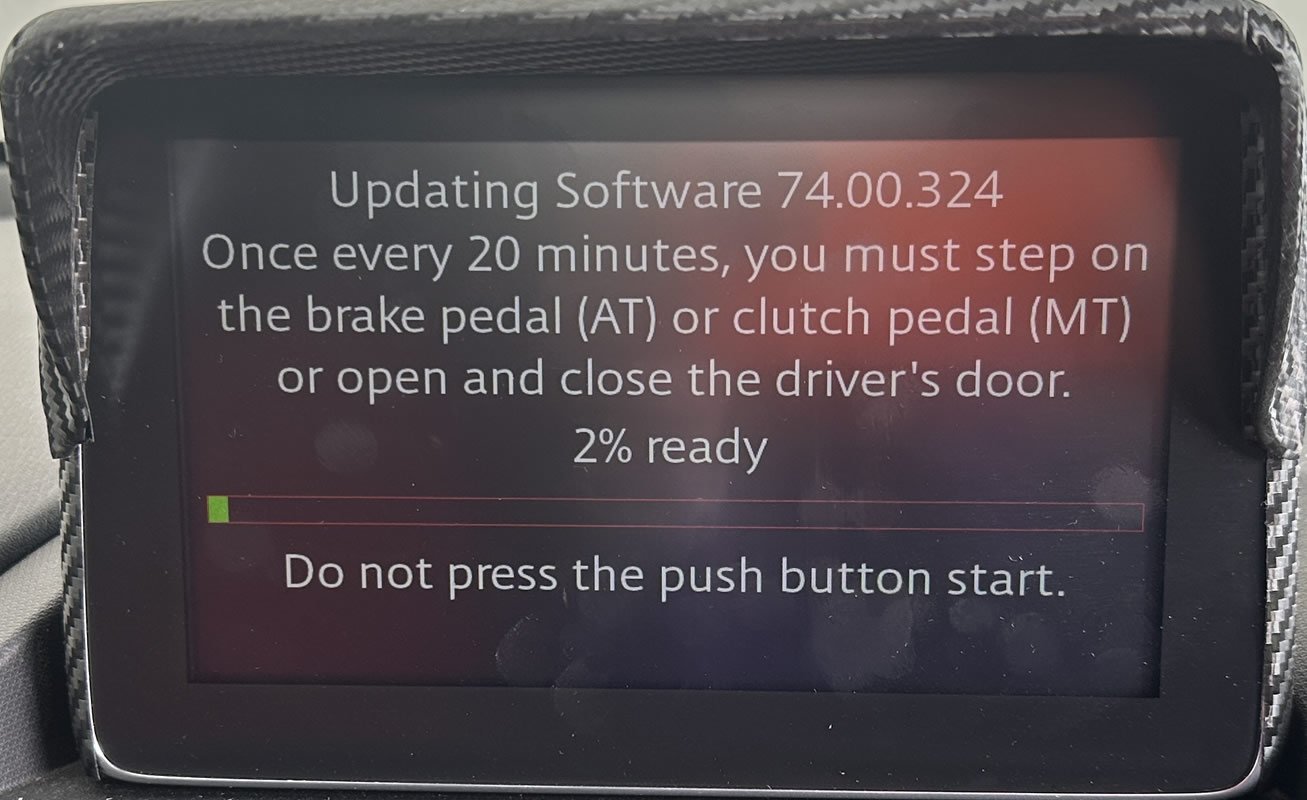
Once the files are prepared you'll see a message on screen advising how far through the update is and crucially that you need to depress the brake or clutch pedal every 20 minutes. As before, I strongly urge you to set a timer and press the clutch pedal every 15 minutes to prevent the idle timer from turning off the media system.


software update in progress

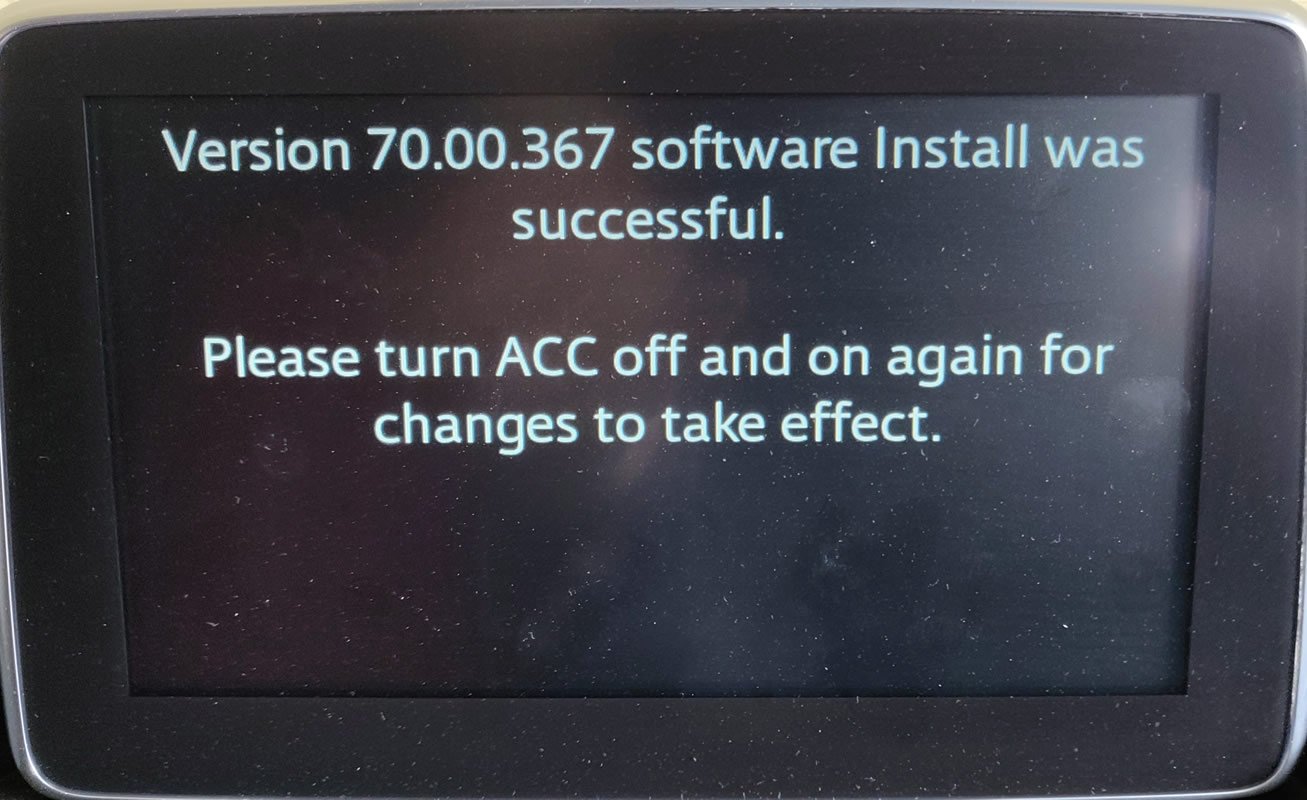
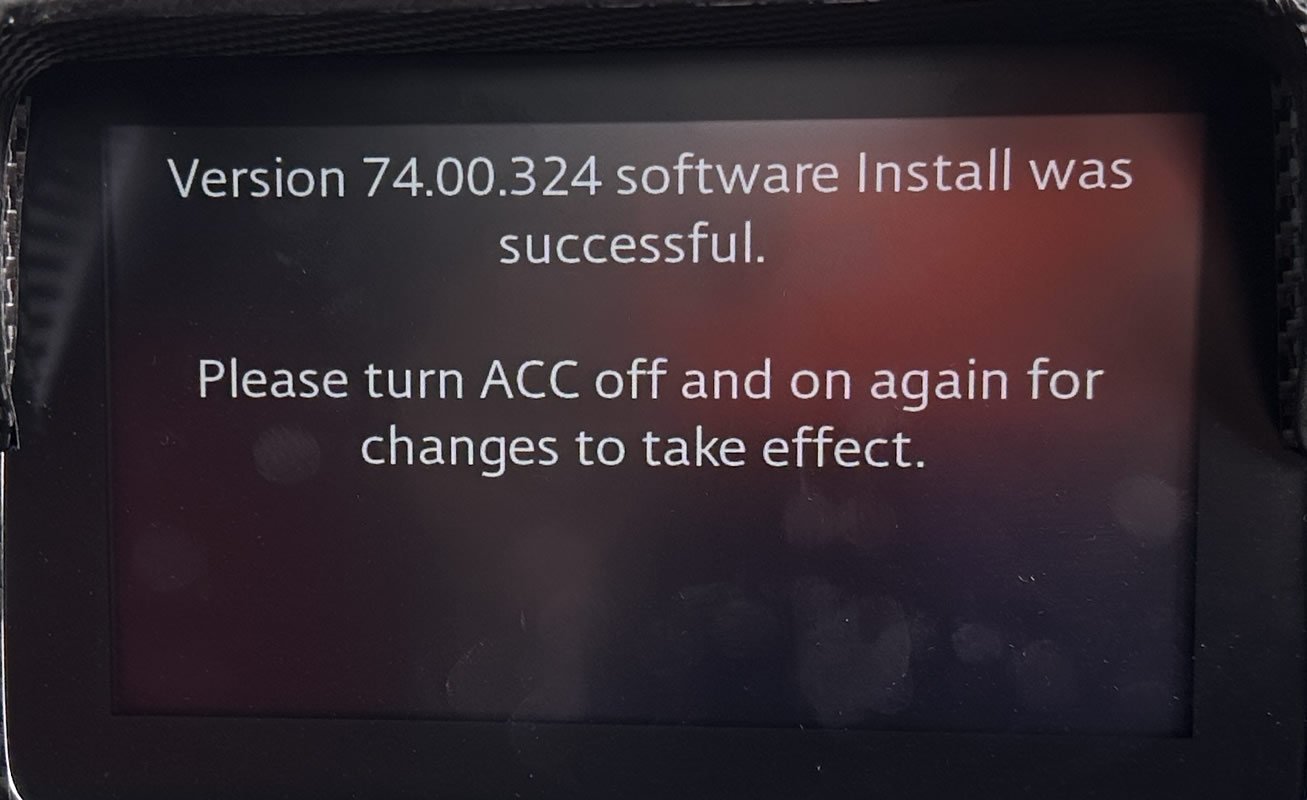
Last time I left the update to cook and popped back every 15 minutes to press the clutch pedal, this time I decided to stay in the car. After approx 45 minutes, the update was completed and the success message below was displayed. It's always great to see a confirmation like this.

MX-5 software 74.00.324 update completed

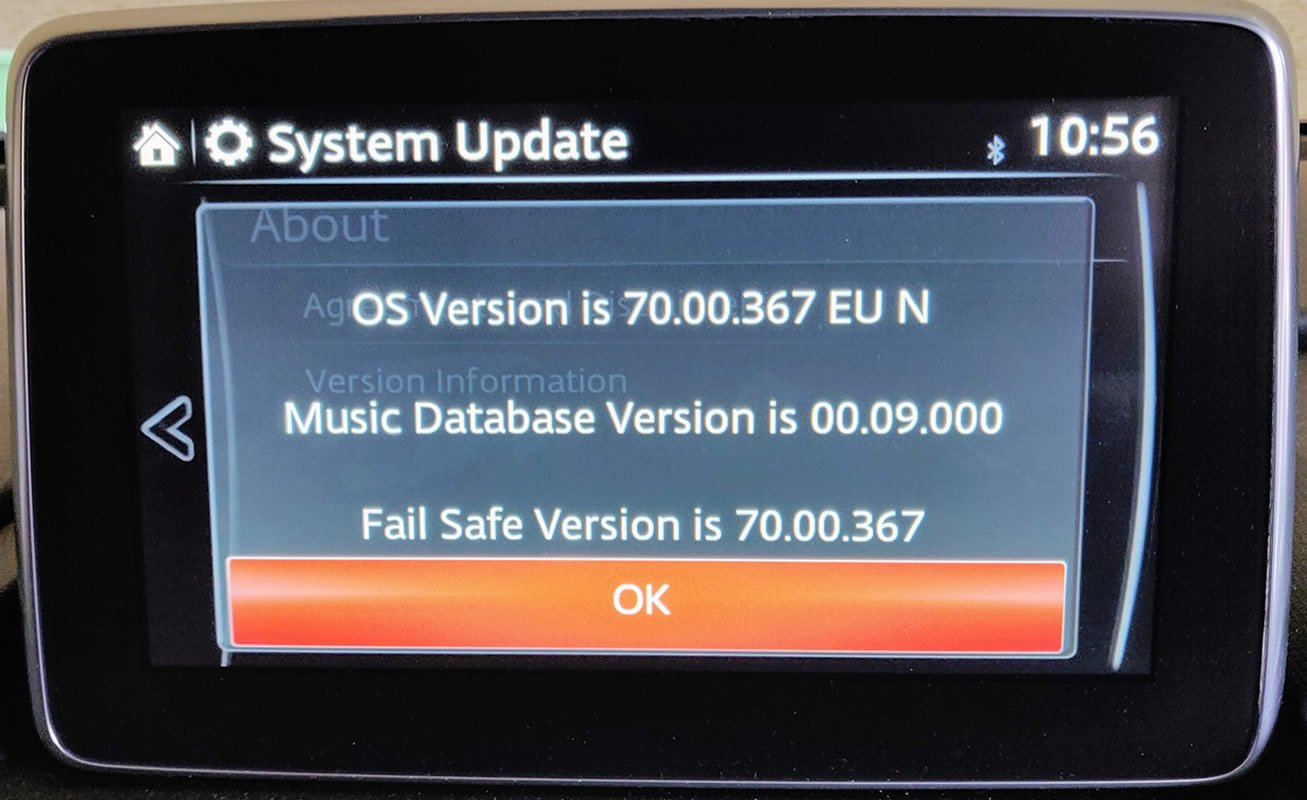
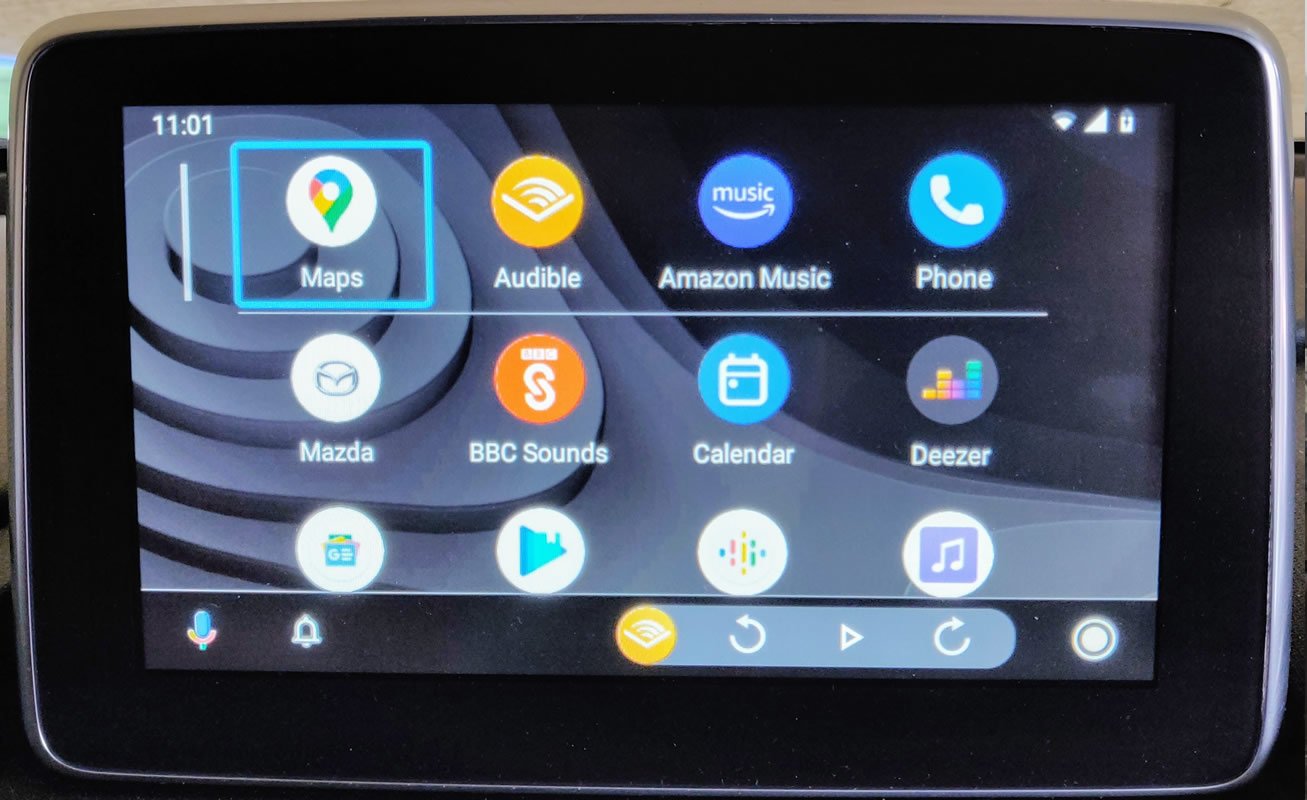
After rebooting the system - a.k.a turn off the ignition and turn it back on. I verified the new version was showing as expected.

new MX-5 software version 70.00.324 updated sucessfully

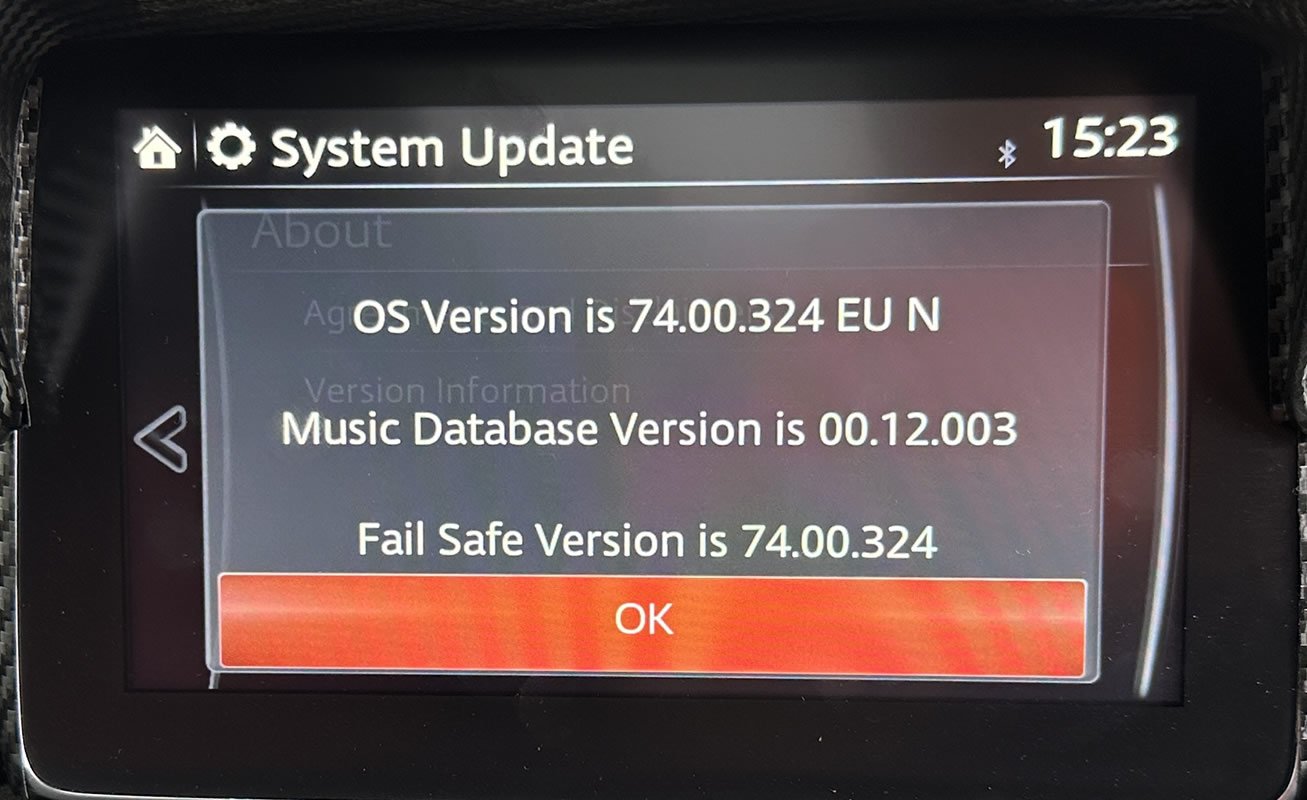
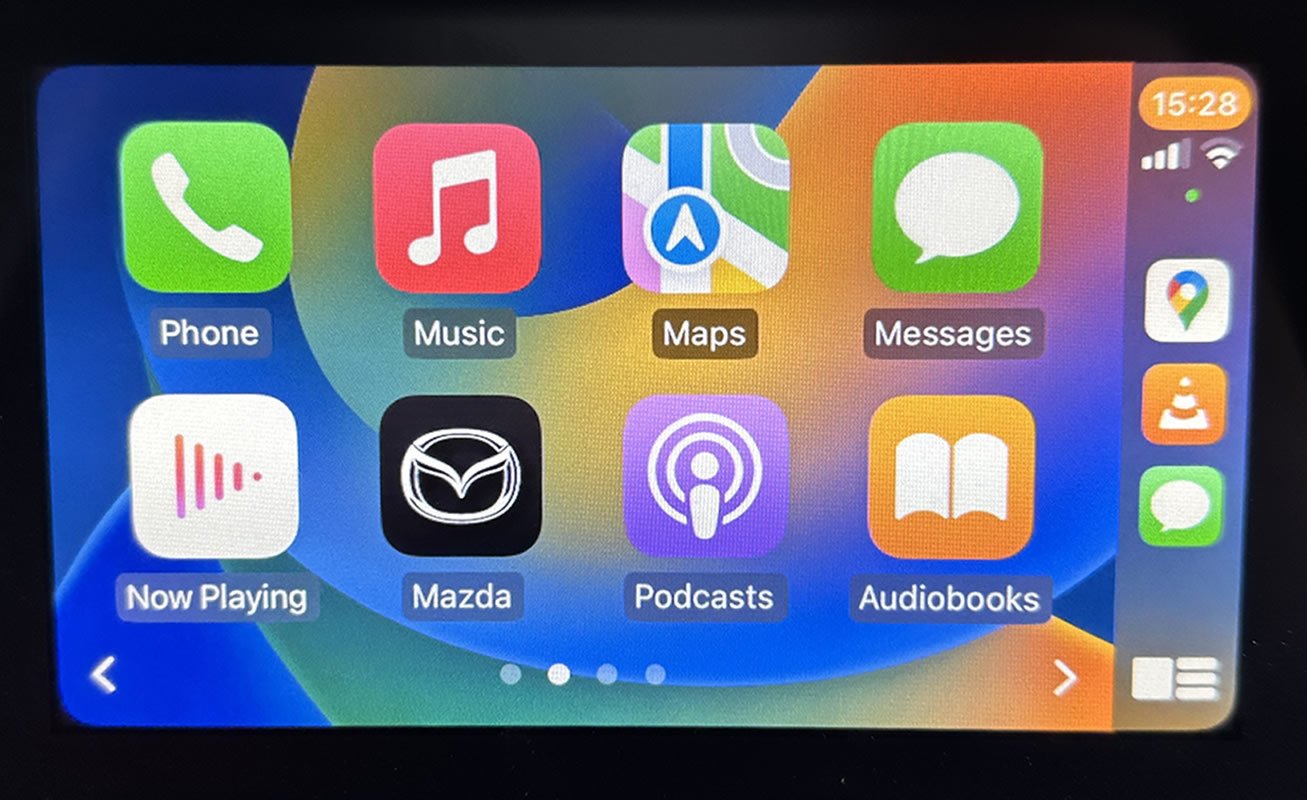
I don't have a list of things that will be new and improved. I wish I did, but the update file didn't come with a changelog. So far I've noticed the boot screen has a different loading image, but Apple CarPlay doesn't look majorly different, which isn't surprising. I guess I'll spot more differences while I'm out on the road, queuing at one of the never-ending sets of roadworks we have in our part of the UK.

Updated Apple CarPlay intalled

Sequential rear indicator lights

Changing the rear indicator lamps (or turn lights) to use sequential LEDs was one of the easiest upgrades I've made, and one that's easily transferred to a different vehicle if and when I update my MX-5 to a later version.

Supplied as a kit, the hardest part of the job was figuring out how to remove the rear light units. This is achieved from inside the boot. To begin, after emptying the boot, remove the studs pinning the floor carpet and also those fixing left and right sides directly behind the rear light units. I decided to leave the three large studs in the floor carpet as it was easily folded back out of the way, so didn't need to be completely removed.

Unclipped MX-5 boot carpet

Now you'll need to unclip the black plastic liner which also contains the interior boot light. Using a tiny screwdriver, gently prise the middle upwards in the centre of the studs, to allow you to remove them.
If you look in the corners of the boot, you'll see a domed rubber grommet with a wire in the centre. Gently push this out through the hole in the metalwork. At this point, I also unclipped the white plugs connecting the same wire to the car's electrical systems. Then remove the silver-coloured nut on the rear side of each lamp inside the boot using a 10mm spanner or socket and the single screw on top of each lamp using a cross-head screwdriver.

Push grommet through hole and unclip cable

Now you need to prise the lamp unit away from the car. It's pretty tricky, but I've discovered a secret way of removing it which is so simple. From your kitchen select a small plastic pan stirrer or plastic spatula. It needs to be pretty thin, not too flexible and made from something that won't scratch the bodywork. Looking at the light you'll see the arrow markings that swirl around the long section of the red lamp cover. Holding the round part of the light with one hand, insert your kitchen utensil just above the arrow-shaped point about 5cm from the end of the lamp, where the clear section ends and pry it away from the bodywork. Please do not be tempted to put it in the very end and twist or you risk breaking the clips on the back of the lamp which will be very bad.

Thin plastic pan stirrer or spatula
Insert spatula into edge of light to remove
Holding the round part of the light, insert your spatula into the edge of the light to remove

Once removed, you can feed the cable which you previously unclipped through the hole and place the light on a soft cloth, or back inside the boot if that's easier. Repeat the same steps to free the other light unit. Now you're ready to switch the amber lamps for the sequential LEDs. The cover twists clockwise/anti-clockwise. I used a glove to ensure I didn't graze skin off my knuckles and also to give a better grip. Due to the cables being quite short, once the amber light-bulbs are removed be sure to insert the LEDs into the opening before clipping them into the lamp holder and locking it back into place.

Insert the LED strip before clipping into the light fitting

The light units clip back into place very easily, once they're in you'll want to pull the grommet back into place, screw on the silver nut and attach the cross-head screw. Before re-attaching the cabling, don't forget to attach the remaining pieces of wiring supplied in the kit. Having sorted that out, reattach the carpet, clip the boot light back together and clip-on plastic boot trim. Job done. Now you can turn on the electrical system / start the engine, admire your handy work and congratulate yourself on a job well done.


Updating the Infotainment Software

Updating the Mazda Infotainment System may seem like a task for your local Mada Dealer, but it is surprisingly simple. There's also the reassurance of a well tested and easy to follow process, to walk you through the steps required to perform the update.
Having said that my day job is in software development, so I'm all too aware of the issues that could be caused if the update failed and the system became unrecoverable. My nerves were misplaced due to the level of detail in the PDF guide.

Starting infotainment version number

My Mx-5 had already been fitted with the Android Auto / Apple Carplay hardware back in 2019. I took advantage of an upgrade offer Mazda had at the time, so this time around the upgrade was purely software-related. Before I began my software version was 70.00.100 and the newest version available was 70.00.367 - which I could upgrade to in a single step.

(If your MX-5 isn't on version 70, you'll need to perform the additional steps to upgrade to a newer version before applying the latest update. You'll also need to upgrade the physical hardware, which can be bought online or from your local dealer.)

Once the update is in progress, you'll see a message on screen advising how far through the update is and crucially that you need to depress the brake or clutch pedal every 20 minutes. I strongly recommend you set a timer for 15 minutes and press the pedal more regularly. This is to prevent the system from going into sleep mode due to lack of use. Should this happen you could end in an unhappy place, which is why I felt the need to highlight it here.

MX-5 Software Update in Progress

After approx 40 minutes, the update was installed and the success message was displayed. No matter how many times I apply a software update to systems I'm working on, I'm always relieved to know it was successful.

MX-5 software update completed

All that remained was to follow the final few steps in the PDF guide and then verify the reported software version had changed to 70.00.367 as expected.

new MX-5 software version

Some of the updates in this version won't be seen onscreen as they were improvements and bug fixes to the existing software. Aside from updates to Android Auto and Apple Carplay, I'm expecting minor changes to the user interface rather than a whole new look and feel. The image below shows the newly installed version of Android Auto, let's hope we have lots of opportunities for top-down motoring to spot other things contained in this update!

Updated Android Auto intalled

Enhancing the seats

I guess I'm one of the tallest owners of a Mk4 MX-5 as I'm over 6 foot 5 and find the lumbar support extremely underwhelming. When I bought my MX-5 the only alternative to the standard seats (with either leather or cloth covering) was the Sport Recaro special edition. Not being a fan of Ceramic White, colour being a deeply personal preference I opted to choose a paint colour I loved and make alterations to the seats. In the back of my mind, I planned to look for an aftermarket Recaro seat I could retrofit to my MX-5. But after hours of searching, reading blog posts and sport seat product specifications I discovered without removing the interior panels of my Mk4 MX-5 like many of the track cars have done, the interior is too narrow for any of these seats.

The final option I was left with was to alter the existing seats, which was the route I decided to take. After careful thought, I split the job of enhancing the seats into two specific tasks; discover how to best enhance the seat support and choose a fabric for the new covers. If you’re curious to see how the Mk4 MX-5 seat is constructed, you might like to watch the video I created showing me stripping down a seat and exposing the seat frame.

The various stages of stripping down an MX-5 Mk4 Seat to show the seat frame

Having sat in many different car seats over the years, particularly while I worked for a B2B car leasing company, I know the construction of each car seat varies enormously from manufacturer to manufacturer. Since you can't tamper with the seats significantly in a second-hand dealer's car lot I began to look online at seat frames being sold by car-breakers. YouTube also has a number of interesting videos showing people stripping down and re-covering car seats, where you can catch glimpses at the seat frames. It was a slow process but I eventually worked out a list of parts needed and managed to purchase the spring frames and z-springs required to complete the job. The actual process of enhancing the seats is a little complicated to describe here, so I created another video which gives an overview of what I did. In brief, I've enhanced the seatback, added more lumbar support and firmed up the seat bottom a little, so it better spreads your weight rather than dishing you into the middle which (in my opinion) is a crude way to make a bucket-style seat.


The second task was choosing a fabric to re-cover the seats with. I wanted an Alcantara style fabric and not something too solid that would quickly result in a sticky-back as none of us like arriving at our destination with a sweaty back. The vast choice of fabric is mind-boggling, but I quickly discovered there's a massive difference between the thickness, quality and fire-retardant properties of different fabrics. Some of the ones sold on auction sites are very cost-effective but aren’t much thicker than a sheet of heavy-weight A4 paper. Others are really stretchy and would probably have been a nightmare to upholster onto the seats. My search was made easier by narrowing it to red (to match my wing mirrors), grey or black which would tone with the other elements on the car as I didn't want to introduce a new colour. Finding bright red fabric which is similar to Alcantara, is fire-retardant and of a suitable thickness to reduce the chances of accidental damage was difficult. Fortunately, my local car upholsterer had some good contacts and I was able to track down something suitable. I was impressed by his manner and approach to the job, I decided to engage his services. This was a smart move.

Applying the hydrophobic fabric sealant to my seats.

In February 2020, I removed the covers and delivered them to him. Despite not being able to collect the finished seats until July 2020 because he was out of action / closed, as much of the UK has been during 2020 the results were worth waiting for and I’m very pleased with the outcome. Before I put the seats in the car, I decided to add an additional layer of protection and coat them with a hydrophobic fabric sealant. This was a slow process but one I felt was worth doing and the kind of thing you might regret skipping after the seats had been stained or soiled with coffee or chocolate. I chose to use DoDo Juice's Supernatural Fabric Sealant

Both seats removed from my MX-5

The final task involved bolting the seats into my MX-5, for which a cordless impact wrench makes the job light work.
Once the seats had been replaced, the only thing remaining was a test drive (or three). Unfortunately, 2020 hasn't been a good year for days out in general but I'm confident I'll be enjoying plenty more in future years.

The finished seats installed in my MX-5.
An aerial view of my new seats, showing the other red accents on the car.

Upgrading the exhaust

The MX-5 is a great sports car and I think Mazda's design choices were largely correct but I'd always wished the exhaust was a tad more gruff and throaty to match its perky engine and quick handling. While looking for an after-market exhaust I knew I didn't want to end up with a loud-n-proud boy racer kind of exhaust as I felt that'd be OTT and out of character with the other upgrades I had in mind. After a lot of thought and hearing the Cobra exhausts in person at Japfest in 2019, I settled on the Cobalt exhaust sold by Moss Europe.

When you're trying to disconnect the exhaust from the car you need to remove the bolts holding it to the rest of the exhaust system; which were surprisingly easy to do as I'd have expected a little corrosion considering they're under the car.

The remaining task is to coax the rubber fixings that hold the exhaust in place off of the metal bars that are welded to the exhaust.

he rubber fittings that hold the exhaust in place
The rubber fittings that hold the exhaust in place.

The big secret to easing off the rubber fittings is plenty of WD-40; although this becomes a bit of a double-edged sword. I discovered you need to wiggle the rubber fixings after the first round of WD-40 to allow the lubricant to penetrate the small gap between the rubber and the metal bar; then add a second dose and again wiggle it. My advice is to leave it for 10 minutes, go and wash your hands and find some rubber gloves. The WD-40 makes everything quite slippery, the additional grip the gloves provide helps to redress that balance. After some coaxing and a whole lot of wiggling, I managed to persuade the rubber back off.

Mazda's stock exhaust
Mazda's stock exhaust.

Once free, I gently pushed the right-hand side fixings halfway on again to hold it everything in place and went to work on the other side. As a precaution, I positioned a large wooden block under the exhaust to prevent the side I'd just freed from crashing down to the ground and placing unwanted strain on the side as I coaxed the remaining rubber fixing free. Eventually, I was able to slide the stock exhaust out from under the vehicle.

Cobalt exhaust from Moss
Cobalt exhaust from Moss.

Once free of the car I was able to remove the rubber fixings from the vehicle which was much easier without the exhaust in the way. I decided to fit them to the new exhaust before sliding the whole assembly under the car. I jacked the exhaust up on wooden blocks to allow me to connect it to the rest of the exhaust system, taking care not to only tighten the bolts just enough to hold it in place. Pushing the rubber fixings back onto the metal bars that hold the exhaust in place was absurdly quick and easy given how long I'd spent getting them off!

Under the back end showing the rubber exhaust hanger
Under the back end showing the rubber exhaust hanger.
The finished exhaust

Adding the side decals

Purchasing a decal for the side of the car seemed at first thought to be an easy task, but after many hours considering various designs I was no further forward. I quite liked a design I'd found on a Japanese website but the air-fare made it quite expensive compared to other options.

Something about each of the design I'd short-listed didn't sit quite right with the rest of the car, so I began to consider making my own. Using a roll of wide insulating tape I created a 20cm strip of material I could use to prototype different designs.

My original short-list had been whittled down to a choice of two different designs after a bonnet stripe I liked was ruled out by family members who argued it wouldn't suit an MX-5 and was better suited to American muscle cars.

A prototype design for my side decals
Prototype design for my side decals

The above photo shows one of the prototypes I created over the space of several weeks. Once I was happy with the design I cut it out of black vinyl using an extremely sharp craft knife an A1 size cutting mat. After removing the unwanted sections it's necessary to add some masking tape to the top of the vinyl before peeling the bottom waxed paper.

After a thorough clean and check over the area with some T-Cut to remove any unwanted tar spots or residue on the paintwork, followed by another spot wash to remove the T-Cut, I cleaned the area with my Isopropyl alcohol spray.

Before going any further I applied a guideline to the bodywork using some thin blue masking tape. Although this sounds simple it took a couple a attempts to get it level and for both sides to be the same; due to the line at the bottom of the doors not being totally horizontal.

A great method for applying the vinyl is to wet the area thoroughly with a water mister spray bottle with lukewarm water and a couple of drops of washing up liquid. Applying the vinyl to a wet surface sounds counter-intuitive but it allows you to position it and adjust it without damaging or stretching the vinyl.

The finished design
The finished design

Painting the brake calipers

I've always liked red brake calipers (or coloured calipers) on sports cars, as I think they add an extra detail which helps to define the character of the vehicle. Mazda has offered red calipers on some vehicles and more widely as an optional extra in the USA, most notably they included orange callipers on the 30th-anniversary edition.

Not wanting to fork out for a full set of Brembo brake calipers and discs at this moment in time, I decided to paint the callipers instead.
One thing to mention before I go any further is that if you want to jack up your Mk4 with a trolley jack, you'll need a low-rise trolley jack as clearance under the vehicle is too limited for most standard height trolley jacks.

The callipers masked up and ready to paint
Masked up and ready to paint.

Once the car was securely sat on axle stands and the wheels had been removed, I began the process of masking the wheels arches and brake discs. Around the wheel arches, I opted to use masking tape with a plastic trim to ensure paint-covered fingers or overspray from the cleaner didn't get onto the bodywork.

The only time I've removed all the wheels at the same time!

Once everything had been thoroughly cleaned with the brake cleaner, (which was included in the kit I purchased from Euro Car Parts) I masked the brake calipers and began to apply thin coats of paint.

The third coat of paint drying
The third coat drying.

After three coats, they looked reasonably well covered but closer inspection revealed a few patches of thinner paintwork, which I rectified with a fourth coat.

The fourth  and final coat
Fourth and final coat.
The end result
The end result, which I think looks pretty good.

After leaving the paint to harden for as long as possible, before night-fall I carefully refitted the tyres and removed the axle stands. In line with the instruction in the kit, I left the vehicle for several days before driving it the paint hardened and properly cured. I hope you'll agree the end result looks pretty good. Overall the cost of my DIY paint kit plus a trolley jack and axle stands was significantly less than having the calipers painted for me.

The whole car showing the newly painted callipers

Wrapping the steering wheel

Having successfully wrapped other chrome trims inside the car with textured carbon fibre effect vinyl, I decided to attempt the steering wheel trims. The most important preparation task when removing any airbag is to disconnect the battery before you begin to avoid accidental discharge.

Two images. The steering wheel before work began and the air bag being removed.
"Before" work began and removing the airbag.

Once the battery had been disconnected and the residual charge had drained away, I began to remove the airbag, which was pretty easy but at the same time a tad fiddly. (See YouTube or MX-5 Workshop Manual for more details.)

Once the airbag was safely removed and placed out of harm's way, I began to remove the first of the chrome surrounds, which took a little coaxing but eventually worked lose so I could remove it.

The airbag module's chrome surround
The airbag module's chrome surround.
The steering wheel without its airbag or circular chrome trim
The steering wheel without its airbag or circular chrome trim.

The next task was a little more tricky; separating the chrome trims from the steering wheel controls. After carefully studying the clips, lugs and screws that held the parts together I was able to remove them.

A close up of the sterring wheel controls
A close up of the sterring wheel controls.
One trim removed, the other showing the fixings holdin them together.

I began the wrapping process with the small control covers, which was tricky because I needed to cut the vinyl just enough to fold it through the centre without exposing any gaps in the covering. A little heat to make the thick textured vinyl more pliable helped tremendously.

Wrapping the small control covers proved to be a delicate job
Wrapping the small control covers proved to be a delicate job.

After a thorough cleaning, I completed the wrapping process with the larger chrome surround. The wrap needed warming slightly to make it more pliable allowing me to navigate the complex angles. On the reverse side, I sealed some of the cut edges with a little contact adhesive.

Wrapping the airbag module's chrome surround
Wrapping the airbag module's chrome surround.

Re-assembling the steering wheel was pretty straight forward; it took a little time and care to make sure the parts went back correctly without damaging the covering. I think the end result is great and completely changes the overall look of the steering wheel.

The finished, reassembled steering wheel
The finished, reassembled steering wheel.

Adding the light surrounds

Having chosen a colour scheme of red and black to complement the white pearlescent paint which sparkles wonderfully in the sunlight, I knew I needed other red accents on the exterior of the car to complement the wing mirrors.

The car before work began
The "before" image of my car.

I'd already discovered the light surrounds on a Pinterest feed and thought they'd look great on my car. Out-of-the-box, the light surrounds are supplied in several different finishes. Knowing I was going to wrap them, I opted for a gloss black finish because I hoped it would provide the best surface to stick the vinyl to.

The light surrounds as supplied by manufacturer
The light surrounds "out-of-the-box".

After a thorough clean, wrapping the light surrounds wasn't too tricky because they don't have many sharp angles. On the underside at the pointed ends, I used a little contact adhesive to increase the strength of the bond. Once that was completely dry I covered the cut edges with clear Gorilla repair tape to help reduce water ingress and hopefully promote the longevity of the wrap.

Sealing the under side with clear repair tape to help prevent water ingress
Sealing the under side with clear repair tape to help prevent water ingress.
Gorilla tape

Not being sure how to attach them to the car, I contacted Maxton Design who suggested I use a contact adhesive like "No Nails" to secure them to the bodywork. In any other situation, I'd have agreed but I really didn't like the idea of using No Nails on my car, because it seemed a bit irreversible. Instead, I opted for some Gorilla double-sided mounting tape, which has been amazing. To help me position the surround in place after peeling the double-sided tape, I stuck the surround to two pieces of the vinyl's waxed backing paper. Knowing I wouldn't get a second attempt and the surrounds had to be evenly spaced and level, the backing paper proved very effective. After positioning the surround I could gently remove the backing paper one piece at a time, which gave me enough time for adjustments before the Gorilla tape bonded to the paintwork.

Close up of the finished light surround
Close up of the finished light surround.

I agree the light surrounds are one of those Marmite type things, you're either a fan or you're not. I've watched people who didn't know I was the owner display one reaction or the other when they saw the light surrounds.

The final finishing touch was to remove the number plate and wrap the section of grille behind it in red, to add a connection between the running light surrounds.

The front of the car with the finished light covers

Wrapping the air-vents

While at 2018 Summer Rally at Ragley Hall, I spotted the air vent covers on the MX5 Parts stand. Although I wanted to create carbon fibre coverings for the air vents I knew it'd be quite complex to remove the OEM covers. The parts made by IL Motorsport (shown below) were a perfect solution.

The air vent covers before wrapping began.
The naked air vents before wrapping began.

With a little care and attention, I managed to persuade the textured vinyl wrap to sit around the covers while not creasing and bubbling as I pulled it through the centre and over the interior surfaces.

The air vent with original chrome surround
The air vent with original chrome surround.

In my excitement, I'm sorry to report that I omitted to take and photos of the wrapped covers prior to them being attached to the vehicle. Hopefully, you'll agree they add a little class to the dashboard and coordinate with the small patch of carbon fibre Mazda has placed beside the window controls.

The finished air vent covers
The finished air vent covers.

Wrapping the gear shifter

In many ways this upgrade was a bit of a milestone; it was the first time I'd dismantled sections of my MX-5. Previously I'd wrapped the wing mirrors or the boot lid spoiler but neither had required me to disassemble bit of the car. Not liking the shifter's chrome surround it was a natural place to begin. Having purchased the carbon effect wrap at the same time I bought the red wrap I was keen to see how great it looked.

The shifter before I began work
The shifter before I began work.

The shifter's boot is attached to the chrome surround, which required me to remove both parts in order to begin the job. The following images show how I disassembled the individual parts to separate the chrome surround I needed to wrap.

Underneath the shift boot assembly
The shift boot assembly - under side.
The shift boot cover and surround detached from the other parts
The shift boot cover and surround detached from the other parts.
The shifter surround having removed the boot cover
The shifter surround having removed the boot cover.
Both parts of the shifter surround
Both parts of the shifter surround.

The carbon fibre effect wrap was thicker than the red wrap I used on the wing mirrors due to its texture; which made the process a little more tricky than I'd anticipated. I sealed the edges on the underside with a little contact adhesive to help bond the wrap to the plastic surface; despite having cleaned it thoroughly the adhesive on the wrap wasn't forming a strong enough bond for my liking.

The chrome surround wrapped with textured carbon fibre vinly
The chrome surround wrapped with textured carbon fibre vinly.

To add a finishing touch, I decided to wrap the stem of the shifter with the same wrap. Below is a before and after image showing the end result.

Before and after shots of the gear shifter stem
Before and after wrapping the shifter stem.

Once the wrap was heated to close the air release channels, I reassembled the parts and refitted them. I hope you agree the end result looks amazing; it also matches the small patches of carbon firbe on the door trims.

The completed, reassembled gear shifter

Boot spoiler & airdam skirt

Only a few days after completing the wing mirrors upgrade, I purchased two Mazda aftermarket parts; a boot lid spoiler and a front air-dam skirt from a supplier in the north of England (which has since gone out of business).

The front air-dam skirt I decided not to wrap, retaining the original black finish, but the boot lid spoiler I wrapped in red vinyl to match the wing mirrors.

It was pretty straight forward after the complex angles on the wing mirrors and the inconvenience of not being able to detach the wing mirror to be able to work on it as easily as I could the spoiler.

The finished side of the wrapped boot lid spoiler
The wrapped boot lid spoiler - top side.
The under side of the boot lid spoiler
The wrapped boot lid spoiler - under side.

Inside the spoiler on the under-side, I glued the edges to help make it durable and protect the edges while it was being fitted to the car. I then protected the edges from water ingress with clear Gorilla tape.

Gorilla tape

Due to the fact that holes needed to be drilled in the bodywork during the fitting process, I decided to have the spoiler and front skirt fitted by a Mazda dealer.

The newly fitted boot lid spoiler
The newly fitted boot lid spoiler.

I think the red spoiler looks amazing against the pearlescent white paint; whilst the front air-dam skirt looks a lot more finished than the basic trim the car was supplied with.

The newly fitted from air-dam skirt
The newly fitted from air-dam skirt.

Wrapping the wing mirrors

Don't get me wrong. I love my MX-5 but I felt she lacked any unique features that would help to give her more character. After careful thought, I decided to cover the wing mirrors with a vinyl wrap. If you've ever researched different vinyl wraps, you'll be aware that there are so many choices, aside from colour.
E.g. There are various types of adhesive; the cheaper ones might suit your wallet but don't always have the longevity of the more expensive brands.
After careful research, I elected to use Avery's Supreme Wrap because it has an air release system which helps when you're trying to remove air bubbles that become trapped under the wrap no matter how expert you are. This wonderful wrap is made in such a wide assortment of colours it's truly breath-taking. I chose one of their slightly darker reds because in bright sunlight some reds take on an orange sheen.

Wrapping tools
Wrapping tools.


Using a small collection of tools purchased on Amazon and my wife's hairdryer, I washed, dried and then cleaned the wing mirror with Isopropyl alcohol spray before beginning to experiment with my first ever wrap project.
The shape of a wing mirror is surprisingly complex, with some sharp angles which made my task a little trickier than I'd first expected. Although I wasn't happy with the end result. I kept going because I wanted to learn where I'd faced the biggest challenges. Avery has some great videos on YouTube and after a little more study, I dived in for my second attempt. Without boring you too much, I discovered the secret to success was the temperature of the wrap (not too warm), the direction you pull to remove wrinkles and the amount of force required to keep the wrap flat but not to overstretch it.


Having used cheaper wraps as well as Avery's Supreme, I can thoroughly recommend the more expensive wrap. The end results were noticeably better and it was way more forgiving to work with.
Around the edges of the wing mirror where the coloured section meets the black plastic trim, I discovered the way to finish the job was to secure the wrap to the plastic trim with a special tape called "mould and hold". It's great because it has a different type of adhesive and stick to the plastic trim really well and provided the end result I was looking for.

Close up of the finished wing mirror
Close up of the finished wing mirror.
The wing mirrors wrapped red
The wing mirrors wrapped red.